Pages

Monday, June 2, 2014

Mock up of Royal Enfield Chopper

Have to clean up my garage, so I put Him out to smell the winds of summer (it is going to rain soon...). Lots of things to do, but I am pretty sure that We will drive this summer together.


New improved chain tensioner

I fixed my old chain tensioner, which I made last winter, a little bit. Made one leg from thicker material + did longer roller from nylon. This way I can swap it around, if it wears too much on The Road.


Saturday, May 31, 2014

Repairing toolpost of the lathe

I was supposed to start to do other side of spacer of springer. Lathe said No, No! Toolpost of the lathe was loose and the bolts, which keep it still were lost threads. Both! Did not have that kind of bolts, so have to invent something different.

Both side have these.


Here is one faulty one. Both were dead.


Bolt locks itself into these rails.


Here´s the start of new ones.


Too thick.


Have to take 2mm off.


Ready for threads.


One ready.


There it sits.


Works as planned.


Thursday, May 29, 2014

Spacers for front end

I started to do spacers for front end. It took me about 4 hours to make one...BUT. I had problems with tool post of lathe etc. Anyway. Point here is, that I really need practice with lathe. This was good job for learning of using it and maybe someday I will be faster & better. In any case, I am quite satisfied with the results. One more to go!

Starting point & final piece. Made from 28mm solid axle steel bar. It turned to 17mm (outside) & 12mm (inside) spacer.


The Spacer in It´s full Glory


I did this inside neck, so it dwells into it´s place.


There It sits!


Springer rockers modification.

Since I am rebuilding my springer for Royal Enfield Chopper, I decided to do some modification for rockers too. They looked cool, but were not working properly. You can see the modification (and fault with those) more easily from pictures. I also changed the location where front axle come, so I fixed little bit of trail, which was too big. Now they are more like Sugar Bear style. I maybe do them from scratch at some point, but this is just test now.

That high notch sticks to springer bar.


Here you can see the Sugar Bear style also.


Tuesday, May 27, 2014

Neiman (or similiar) steering lock install to Motorcycle

Long time, no posts. Have had lots of things on my hands. Here´s one of them. As I had inspection for my HD Sporster (it passed and is now street legal), I had to install steering lock into it. Funny thing is that last summer when I bought this bike, I did not inspect it because I knew that they might check out if I have it or not and I thought that it is that much work, that I install it later. Then summer passed and I still had no steering lock nor my bike inspected...Anyway, now I decided that I´ll put it on. And quess what. The inspector did not even look at the lock! Here´s the story of how to install Neiman (or similiar) steering lock to any bike.

This is The Place


First. Smaller hole.


Then bigger until it reaches 10mm. Drill all the way thru steering neck. Or halfway, to be precise. Bleed Baby, Bleed! It is cutting paste, which bleeds, if You wonder.


Now the lock part goes inside ( I have longer version, there is other version too)...


...BUT. There is that neck, which should go inside too.


I took off material with dremel type tool and after the operation, it looked like this.


And this is how it should go inside.


Then it is time to weld. Double check that the lock works, that way so the hole inside matches the lock!!!!


Welded. Badly, but it stays, good enough for me.


Then some matte black on and it is ready. Some people of course take the whole front end off, but I did not saw that neccessary. It works. Even inspector did not noticed it, I have valid steering lock now. Great. And it was not that bad to install. For me, it took about 2 hours or so to put it on.


Tuesday, May 20, 2014

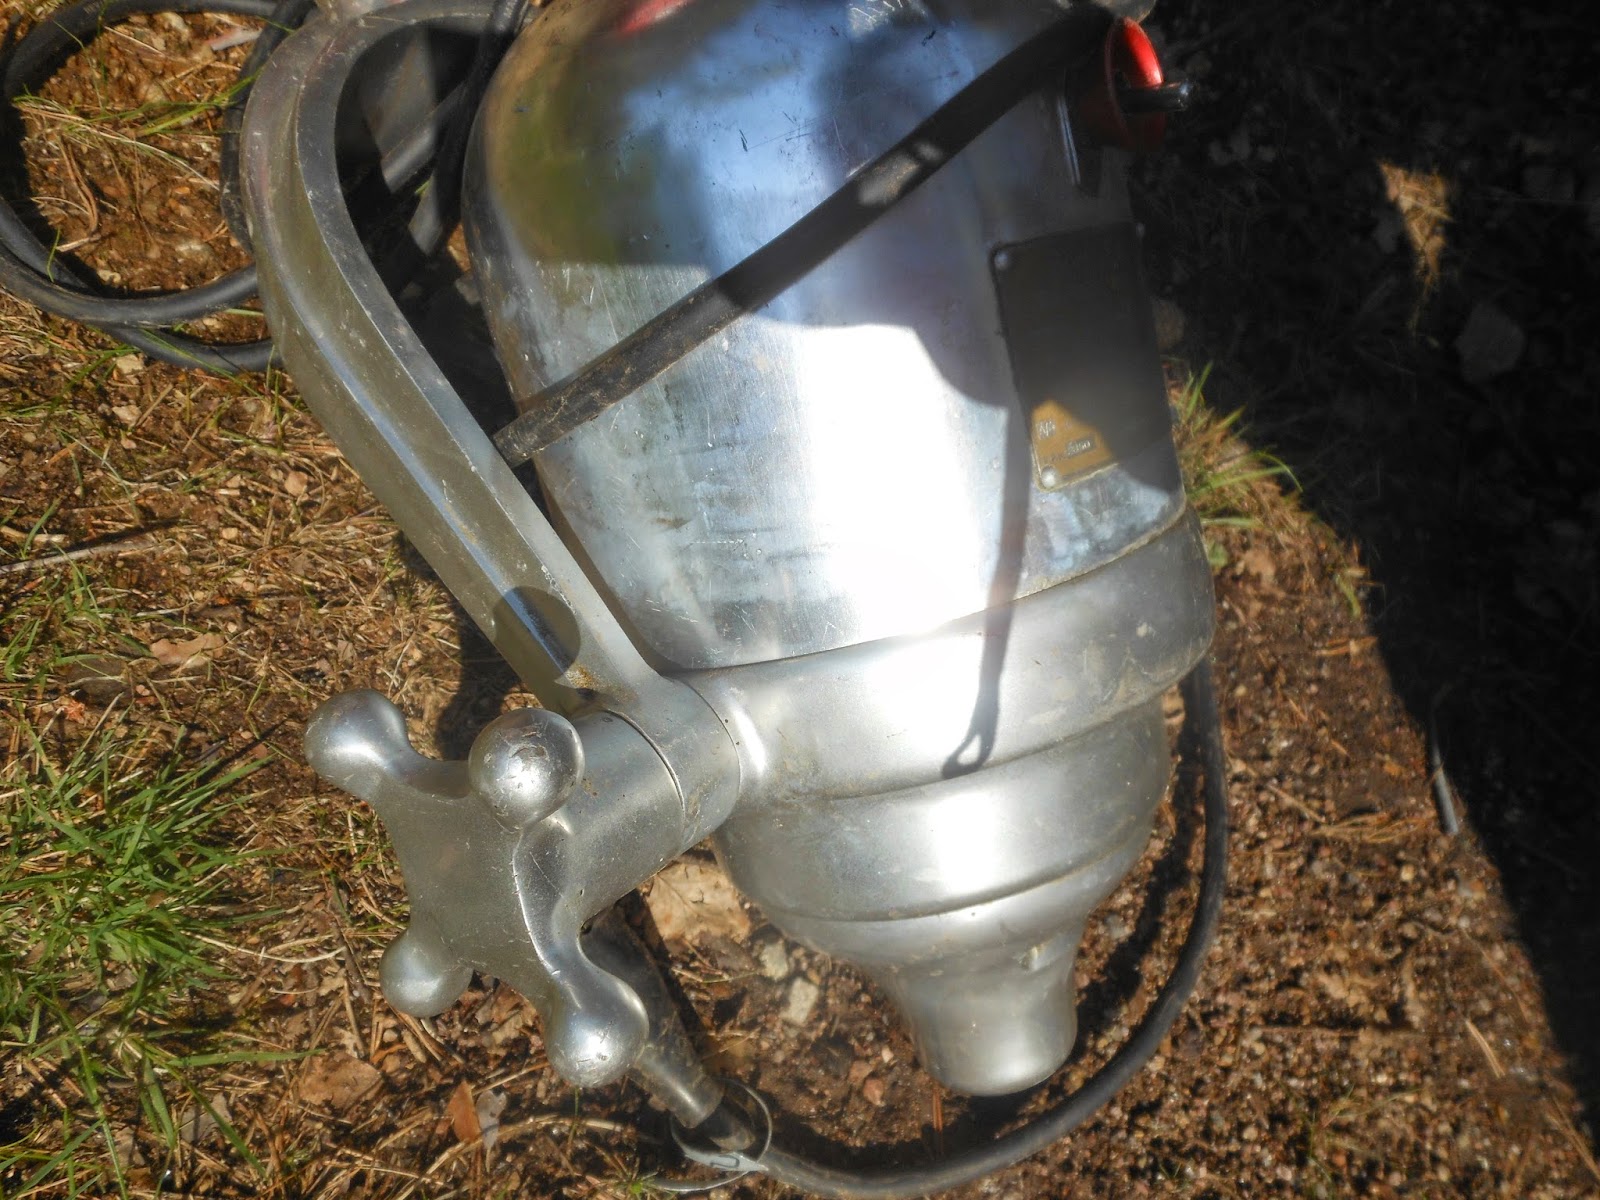
Mystery Machine...Solved

Now I know, what that Mystery Machine is! Did some google search. It is motor for bone cutter! Butchers etc. use it. Never thought that it would be something this cool! Have to try, if it works and do something from it. At least it have great looking knob! Case of the motor is great too. Or actually. It is cool, even it does not work!

In stand, it looks like this. This is newer model.


Treasures from metal waste container

I drove past some metal waste container and found good stuff! Here are my findings, check all the pictures, there is some odd machine, which I would like to know what it is. Haven´t tested if that works. Before that, have to check, if I have fuses for my house...

Tools & stuff.


THIS! It looks so great, but where it has been used?


Some electric motor info.


So great knob!


Something had been put inside and this had rotated it. But why?


Monday, May 19, 2014

Mercedes-BenZ 508 Kastenwagen 508, 1972

Here is my MB 508. First start after standing whole winter. I call it as "Matkis". I have owned Him about 7 years and He is The One I love most of all of my machines. He has mobile home interior, which looks kinda you come into some old grandmothers cottage...Nothing fancy or white there. I´ll add interior "tour" later.


Friday, May 16, 2014

Yamaha PSR3 fix


We went to flea marked with my daughter to buy her a synthetizer. She have one already, but it has only two notes polyphony, so it is not good. We found one, which we tested and it played at least 5 notes at same time. Good! The synth is Yamaha PSR3. Quite old, but fits fine for her. When we came home and she started to play, she could not change the sounds. BAD! So. Have to open it.


Problem lied here. "Enter" knob did no went all the way to bottom, so it could not confirm that the sounds were selected with numbers corresponding to soundbank. Cleaned and tightened the plate. And it worked.


Now she can play Majestetic Ensembles & Powerful Pianos. Great!